The good news!
As per Lee’s earlier email, we are happy to advise that the new Oasis Travel Websites are ready to go – Yeah!
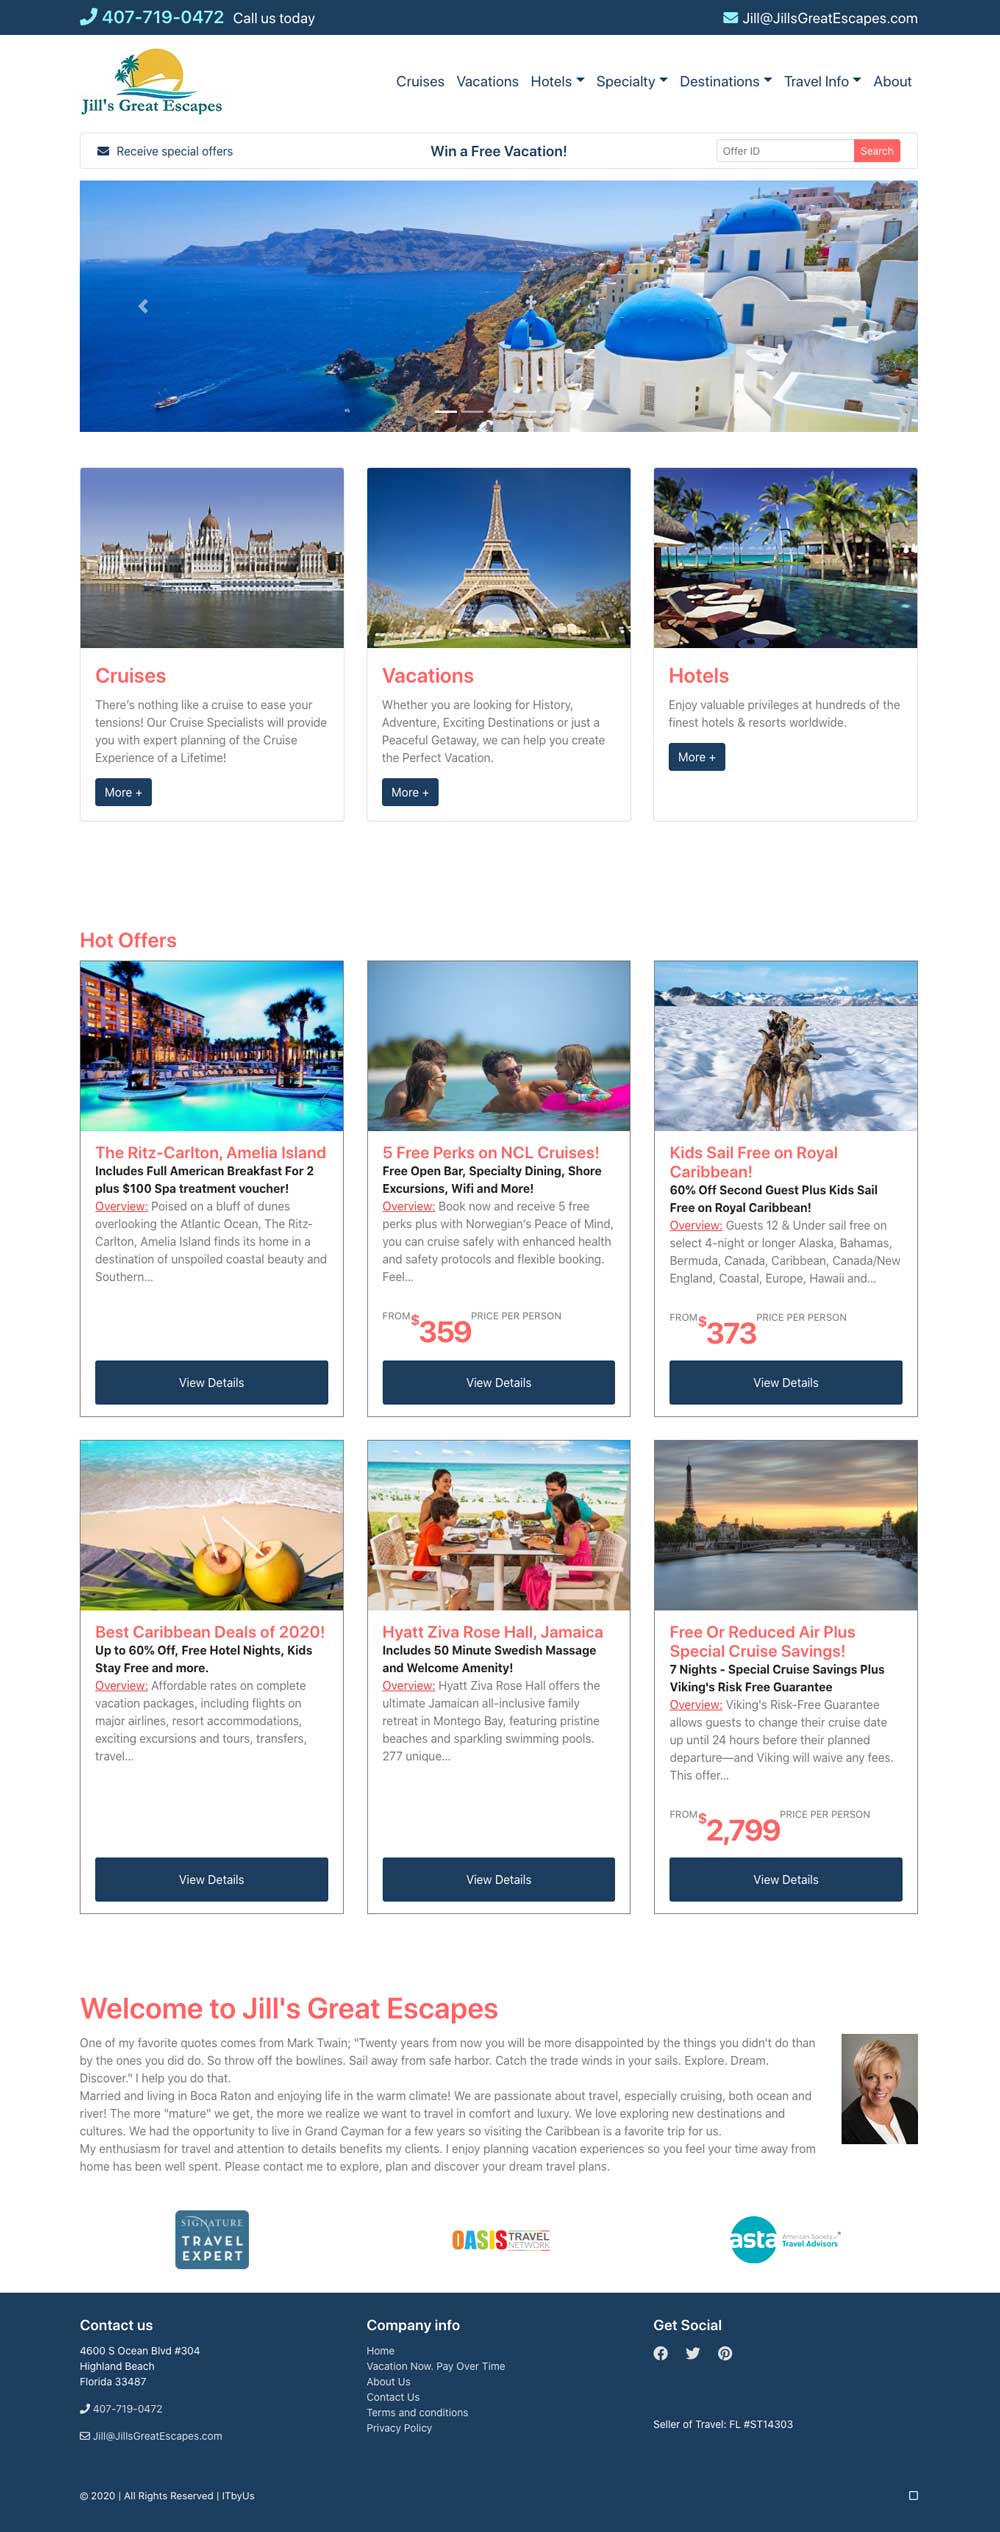
An example of a new default website can be viewed at https://jillsgreatescapes.otnlive.com/
Logo, header hero images, layout, fonts & colors can all be changed by you :-)
Introduction Video
(Unfortunately now a big budget Hollywood Production :-) )
Your Website Setup
Step 1: (Login Setup)
Visit https://otnlive.com/wp-login.php?action=lostpassword
- Enter email address …………
- Click ‘Get new password’
– You will receive an `Oasis Travel Network Password Reset` email
– Click link in email
– This displays Reset Password page
- Copy auto generated password, or delete and enter your own ‘STRONG’ password
- SAVE PASSWORD SOMEWHERE SAFE
- Click reset button
- Click Log In link on success page
- Enter your email and password and click login
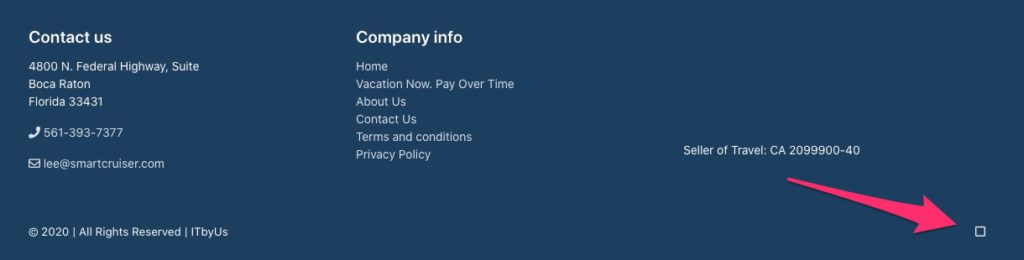
Well done – you have completed step 1 - Going forward – to login, please click on the little square on the bottom right of the page and enter your own login & password.

Step2: (Look & Feel configuration)
Going forward, to login, click on the ‘little square’ bottom right of your page then enter your login & password.
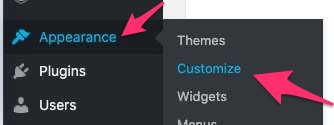
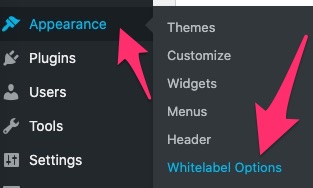
- Logo: On the left hand menu, select ‘Appearance’ -> ‘Customize’
a. Feel free to change ‘Site Title’ & ‘Tagline’ if required.
b. Upload your logo. (Ideal size dimensions no larger than 350 pixels wide by x 90pixels high)
c. Add logo dimensions into relevant fields – Publish
![]()
Preset Styles:
a. Choose preferred layout (Theme Option):
b. Choose Typography
c. Choose Colors
PUBLISH then click on the ‘X’ to get back to main menu
(You can view the site at anytime by click on the top bar -> choosing the site -> Visit site)


Example:
-
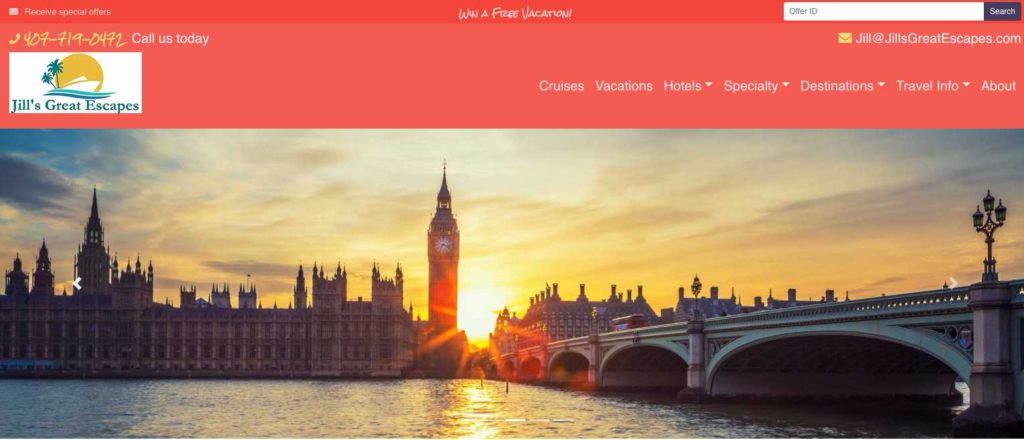
- Choose your preferred Header Hero Image
(I recommend not more than 5 images as it slows the page load and is not good for user experience or SEO)
- Choose your preferred Header Hero Image

a. Choose ‘Carousel’ on the menu
The 5 default images are tagged ‘Homepage Hero’:
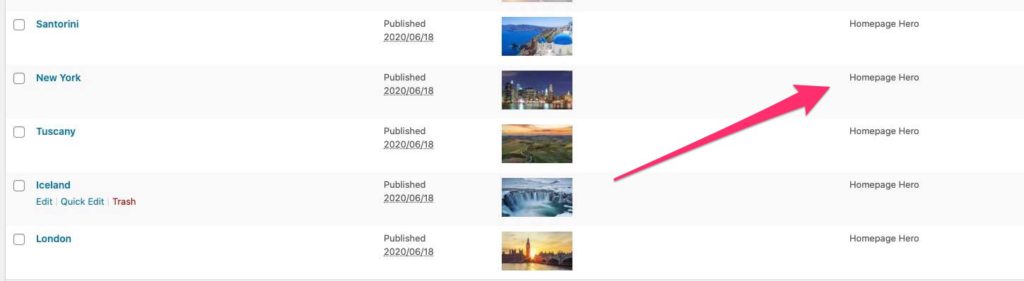
To add new carousel image

then update as below:
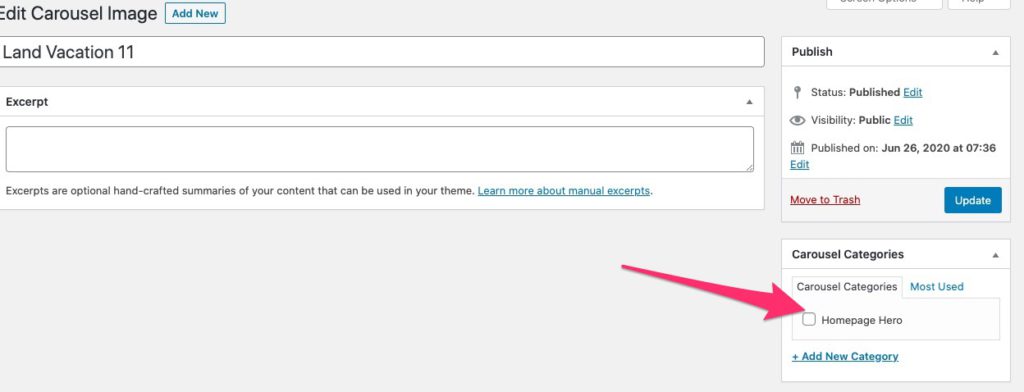
(Click ‘’Quick Edit, unclick Homepage Hero)
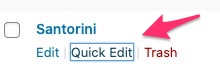

Then select which images you prefer by Clicking ‘Quick Edit’ again and selecting Homepage Hero’ in the Carousel Categories.
You can also vary the display order by changing the order number – eg 1 then 2 then 3 etc
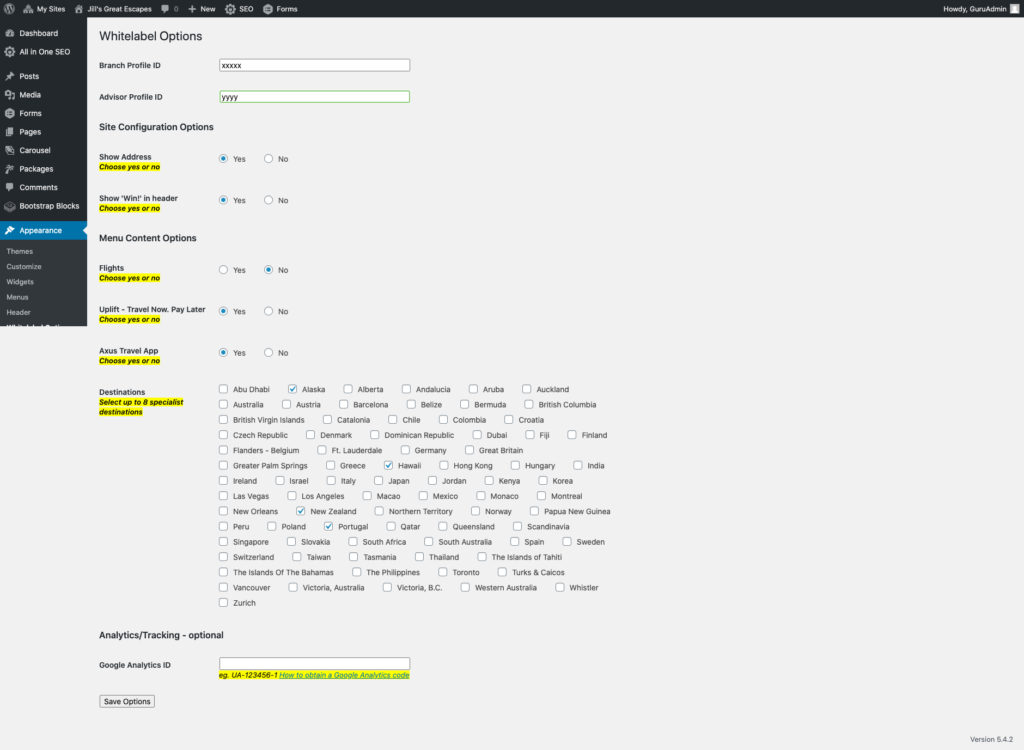
Step 3: Adjusting Menu and Page Display Options:
(Mostly self explanatory except ‘flight’ is a limited option and not yet enabled).
You can also select up to 8 specialist destinations to view on the dropdown menu.
Miscellaneous:
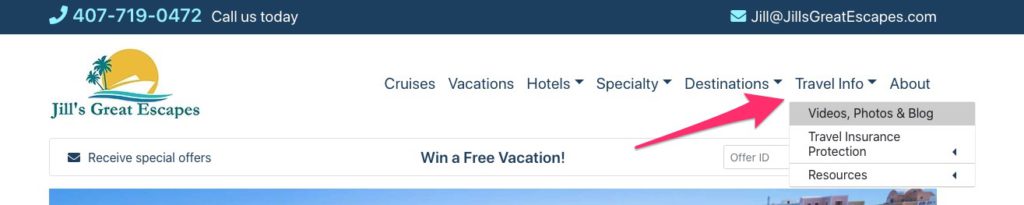
1. To add your own content to the website, we have created a ‘Videos, Photos & Blog’ page on the top menu under ‘Travel Info’.
To enable this link & page, simply login into ‘Pages’, Edit the page to suit using the editor (please see below for a demo on how to use the editor).
When finished, simple click on ‘Publish’ and the page will appear on the top menu as below:
Packages:
In addition to the packages suggested by the Oasis Travel Network and the Signature Travel Network, you also now have the ability to upload your own ‘Exclusives’.
It may look something similar to below:
Our Exclusive Deals
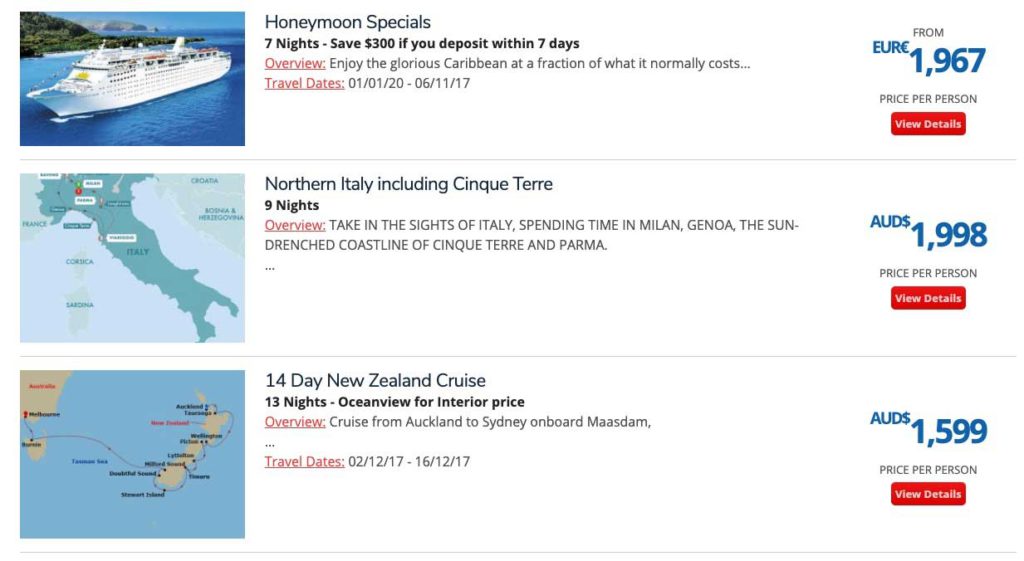
When you view details:

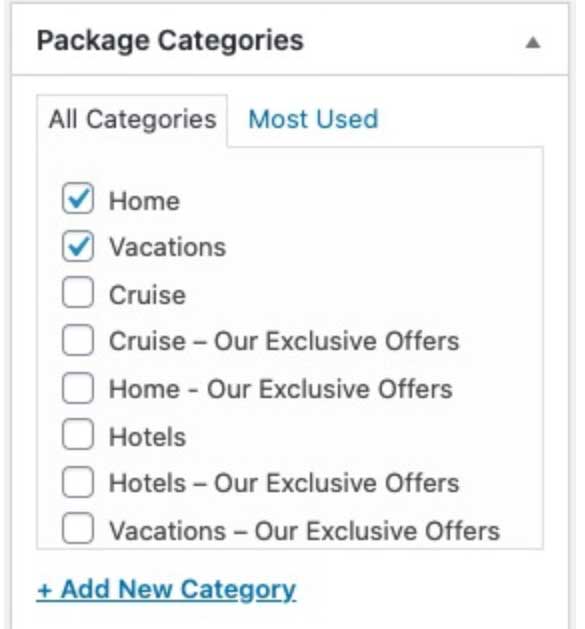
Once completed, select the relevant ‘Our Exclusive Offers’ on the right side.
These ‘Exclusives’ will appear above the ‘OTN Hot Specials’
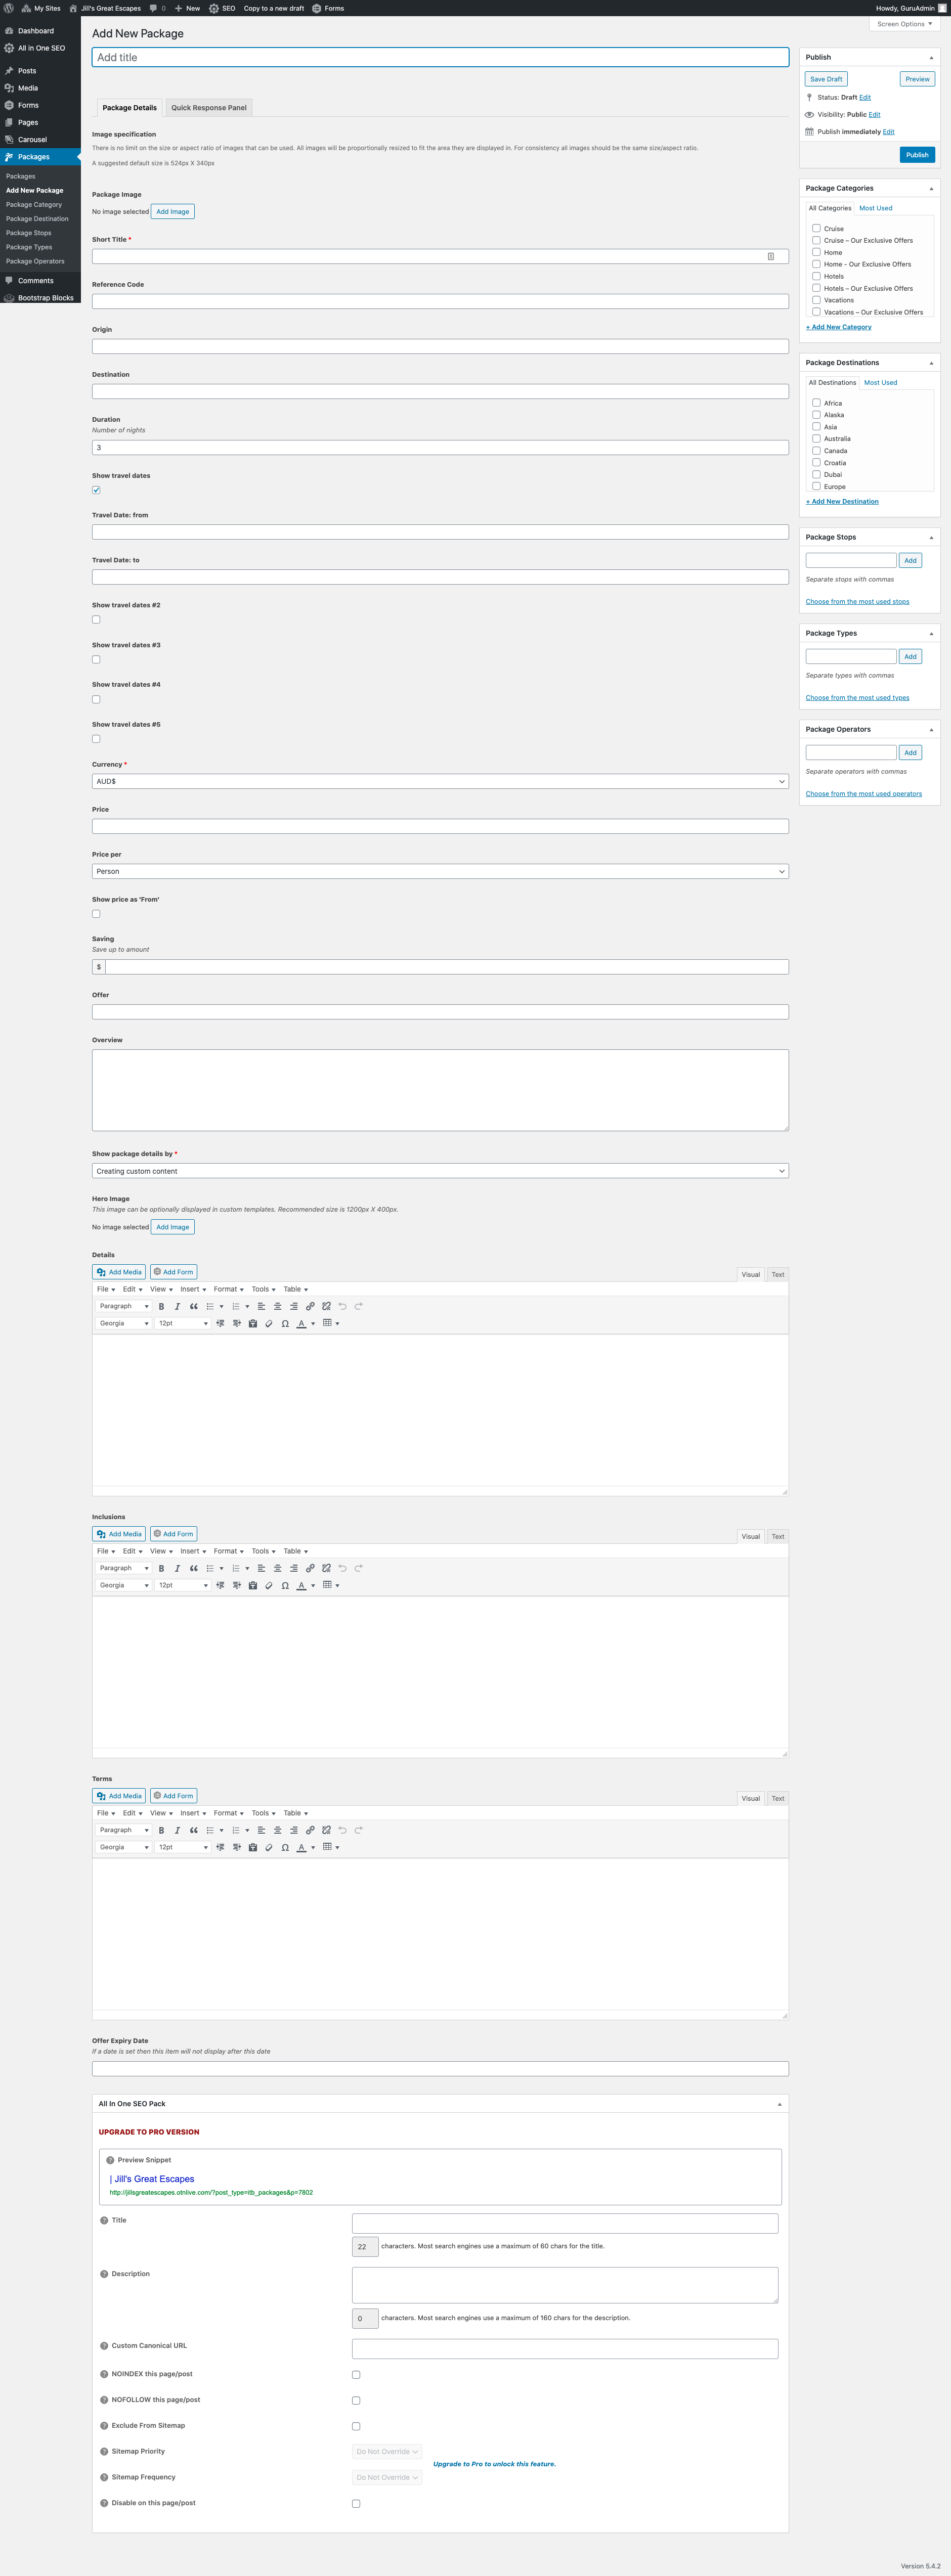
How? Easy…
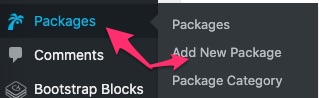
Login to the backend and select ‘Packages’ on the menu, then select ‘Add New Package’
Once completed, please select an ‘Our Exclusive Offers’ category -> SAVE
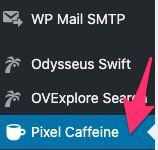
Facebook Pixel – using Pixel Caffeine!
More Info:
Finally, there are a number of items still being completed. We will keep you posted as we roll them out.
- Contact Form
- Booking Form
- Google Analytics